Mom’s Guide to Hosting a Sleeping Beauty Bash
“No Magic Wand, Just Canva and Coffee”
Let me be honest—if you’re a mom like me, in your late 20s, juggling freelance deadlines and toddler tantrums, planning a birthday party can feel like trying to fight Maleficent without a wand. But last spring, when my daughter told me she wanted a “pink princess party with sparkles and a spinning wheel,” I knew exactly who she meant: Princess Aurora. Or, as we call her in our house, “The Sleepy Princess.” And that’s how our Sleeping Beauty-themed birthday party journey began—during nap time, fittingly enough.

Credit: Sleeping Beauty Princess Aurora Themed Party Decorations by Revoltosos recreaciones on YouTube
I remember staring at my laptop, Pinterest open, tabs multiplying like fairy dust, wondering how I could pull off a magical, memory-making, glitter-filled day without spending the royal treasury (aka my grocery budget). But that’s the thing about being a mom—we make magic with what we have. We’re like Flora, Fauna, and Merryweather rolled into one, minus the wings (and maybe the patience).
Transforming Our Backyard into a Fairytale Forest
“No Castle? No Problem”
Here’s a fun fact: you don’t need a 17-room castle or even a Pinterest-worthy mansion to throw a princess party. Our humble backyard, complete with plastic lawn chairs and a suspicious patch of grass that never grows, turned into Aurora’s enchanted forest for the day. And honestly? It was enchanting.
I hung soft pink and gold streamers from the patio, and used sheer curtains I found in a clearance bin to create a dreamy canopy. Our garden arch (which normally just supports wilting tomatoes) got a makeover with dollar-store roses and fairy lights, and I laid down a plastic aisle runner we called “Aurora’s Royal Path.” It wasn’t Versailles, but when my daughter walked out in her pink princess dress, holding a plush owl and waving like a queen, I swear she believed it was.

Credit: Princess Aurora Cutouts by Mimi26Shop on Etsy

Credit: Enchanted Princess Aurora Tea Party by Pretty My Party
Our picnic table became the banquet hall, decked out in a pink tablecloth, golden paper plates, and a homemade “Once Upon a Time” banner. My favorite touch? The forest animals. We used her stuffed bunny, a squirrel plushie, and a cardboard deer I cut late at night (while watching reruns of Sleeping Beauty, of course) and scattered them around for a woodland vibe.
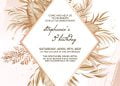
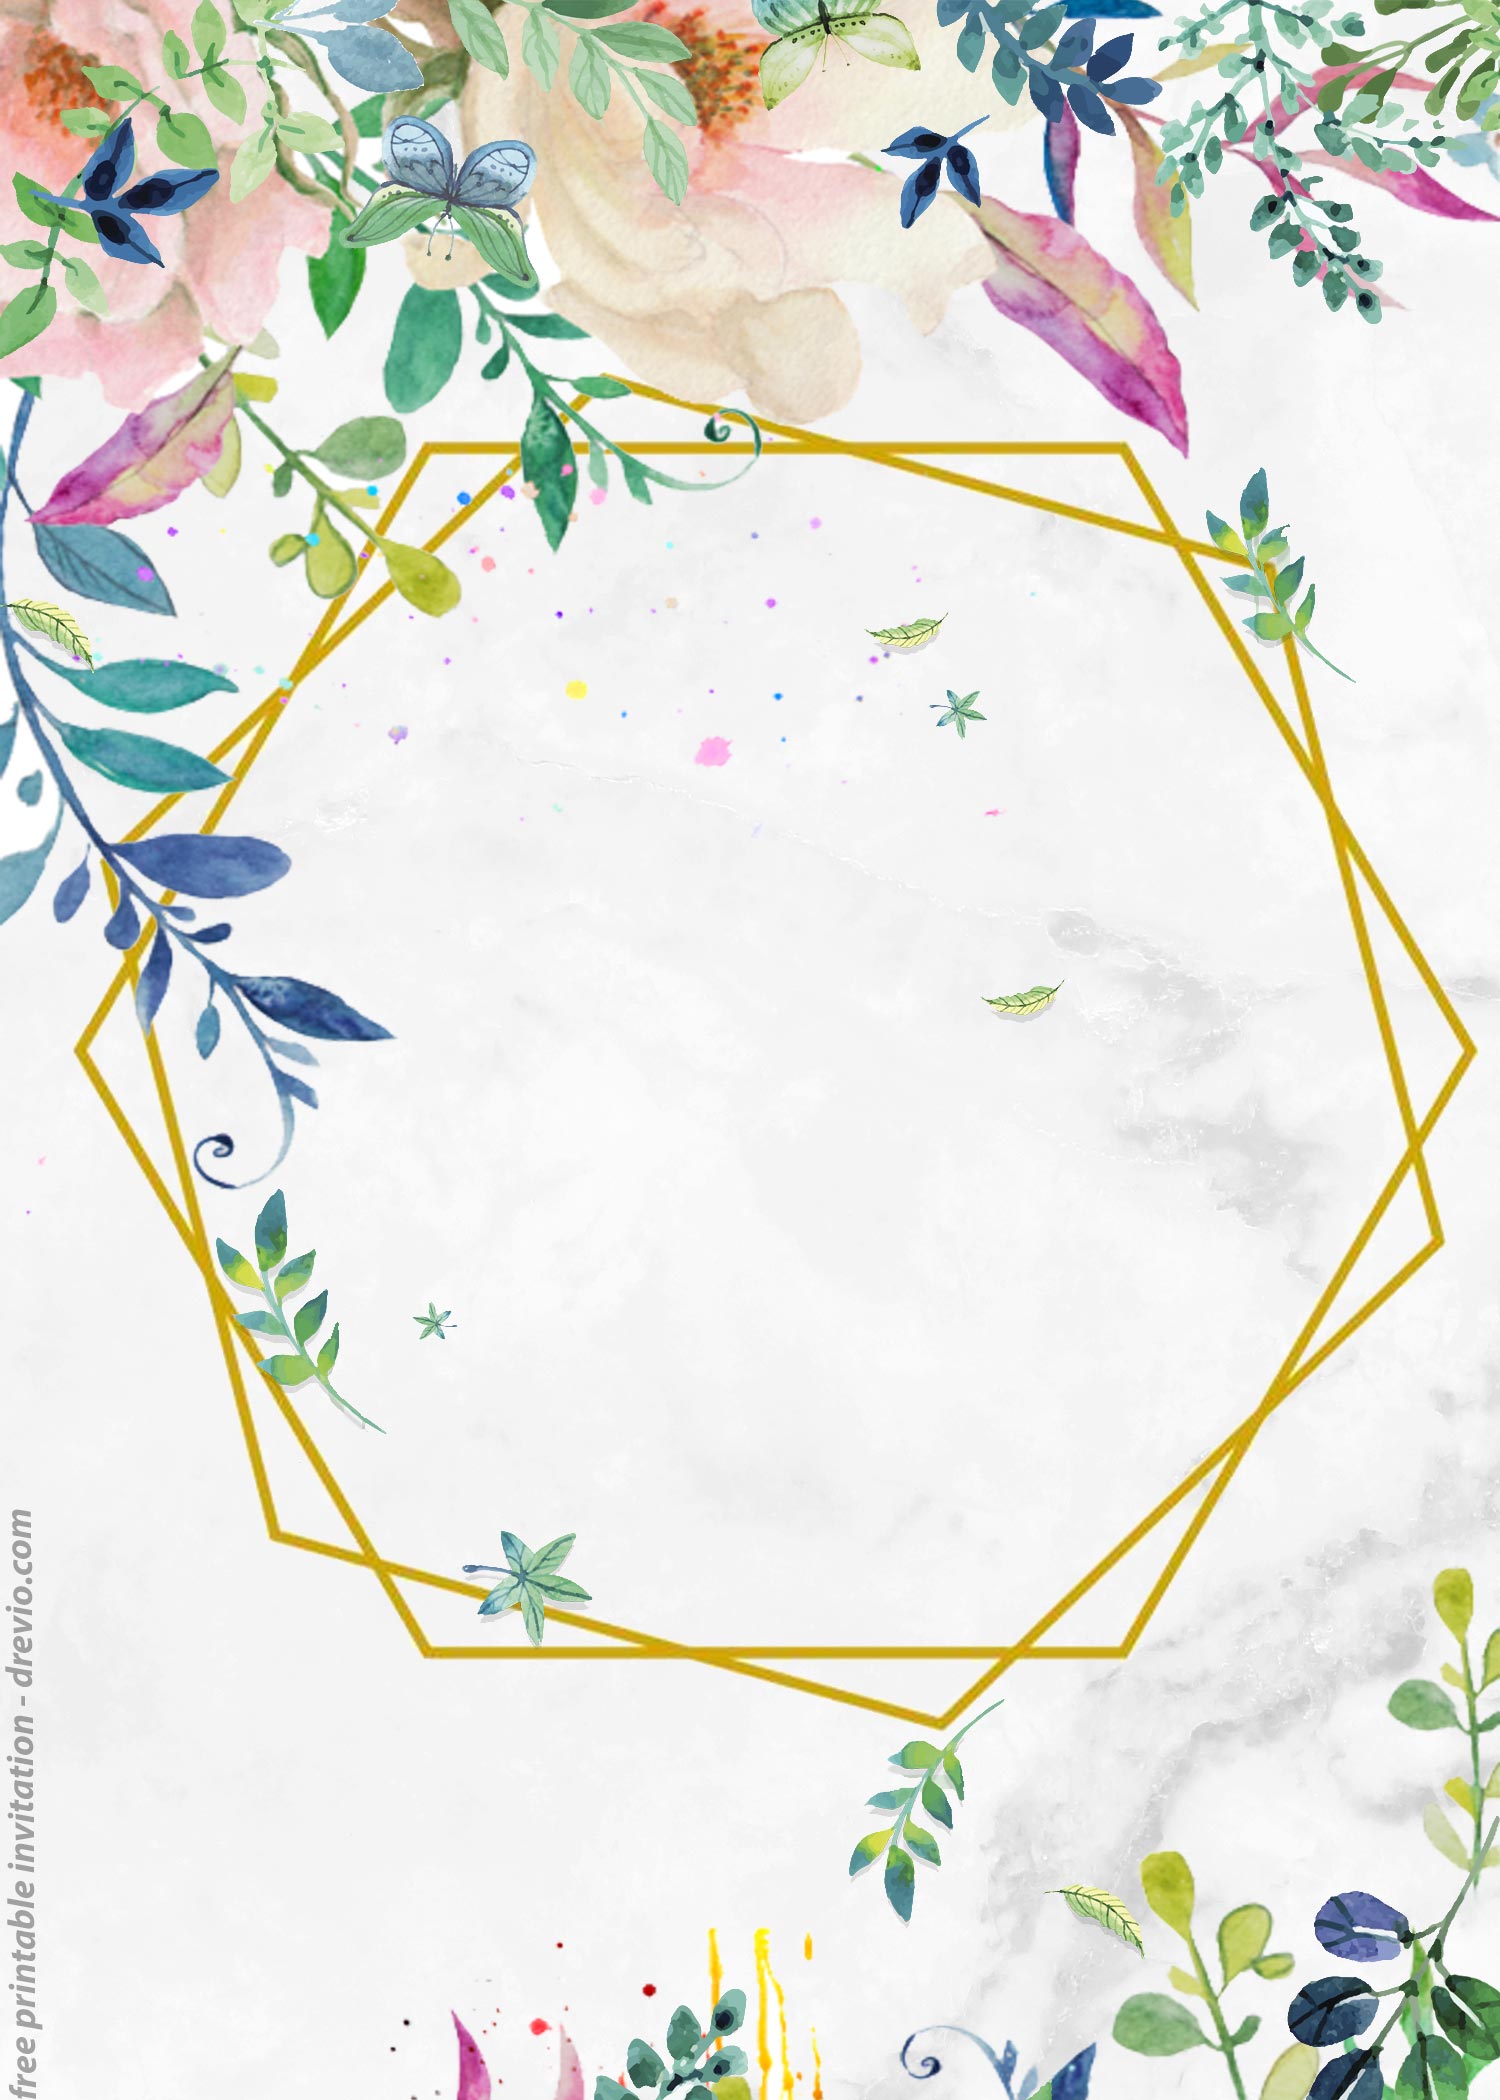
The Most Magical Invitation (For FREE)
Here’s where I geek out a little. As someone who designs free party invitations, I put my whole heart into every template I create—but this one? It might be my favorite yet. I wanted the Sleeping Beauty party invite to feel elegant, dreamy, and just a little bit sparkly. And I wanted it to shout “Princess Aurora” without being over-the-top. The template we used features a castle silhouette at the top, surrounded by soft pink roses and gold accents, with elegant calligraphy that reads:


And let me tell you, when I added my daughter’s name and popped in the date, time, and location—it looked like a scroll sent straight from King Stefan’s castle. And because it’s editable on Canva, I didn’t need Photoshop skills or magic powers. Just a few clicks and boom: professional princess vibes without the professional price tag.

Honestly, I’ve seen moms spend $60-$100 on custom invitations—and that’s before printing. But this one? Free, easy, and totally magical. Plus, I made sure to create matching party printables—a dreamy welcome sign, thank-you cards, and a royal photo booth backdrop, all in the same color palette.
I printed everything at home on slightly thicker paper and it looked so good one mom at the party asked, “Which Etsy designer did these?” Spoiler: It was just me… and a lot of caffeine. But once the invitations were sent and the decor was underway, it was time to tackle the most delicious (and potentially stressful) part: the cake.


CUSTOMIZE AND DOWNLOAD NOW ON CANVA!
Beginner’s Guides
Before you get too wrapped up in planning the rest of your party magic, let’s talk about invitations! Our free invitation templates are not only adorable, but they’re super easy to customize too. Whether you’re adding in party details like the date, time, and location or even a special note, you can personalize everything to fit your theme perfectly.
A. Download Instruction
Want to know how? Read this step-by-step guide to help you download and customize our free editable invitation templates:
- Scroll up the page until you see the “Download Free Editable … Here” button.
- A new page will be shown in seconds, and you will be able to see the preview of our template designs.
- Choose/click the “Edit Template” button (blue button).
- Now you can personalize our templates, like putting your son or daughter’s name, changing the font-size and color.
- Once you finished with the editing, you can download the final draft (Go to File > Download > Select the File Type (PNG is the best option) > Download.
B. How to Print the file?
“Steps for printing our templates”
- Save the image you want to print to the computer or to a flash drive if it is not saved already. (Step 5 of Download Instruction).
- Go to the file explorer and find the file. Double click the image.
- The file will open in Windows Photo Viewer
- Go to print at the top and then go to the print option
- Select the color printer if you want the photo to print in color
- Select the print size you want
- You may want to play around with the “Fit picture to frame” option. Sometimes that option will allow the photo to print closer to the border, but sometimes it will cut off the edges of the photo.
- Hit print and Voila!!!
Looking for more ideas? We also have these for you, Need other ideas? Please show some love to these template designs, Enchanted Princess Belle and Fancy Christmas Belle birthday invitation templates.
Sleeping Beauty Cake Dreams
“(and My Late-Night Baking Meltdown)”
There’s something about kids’ birthday cakes that makes us moms feel like we have to enter a Bake Off competition just to keep up. But let me assure you, your child does not care if the frosting is professionally piped or if the fondant roses are symmetrical. They care if it’s pink, sweet, and has a princess on top. Period.
I decided to bake the cake myself, and what a journey that was. Picture this: it’s 11 p.m., the baby is finally asleep, and I’m standing in the kitchen, covered in flour, trying to turn two box mixes into a masterpiece. At one point I dropped an entire tub of pink sprinkles on the floor, and my husband walked in just as I said, “I swear this is the LAST themed party we’re doing.”

Credit: Princess Aurora Cake Design by Five Alphabets
Spoiler: I lied. It turned out adorable in the end—three layers of pink vanilla cake, whipped frosting with edible gold stars, and a little plastic Aurora figurine on top. The kids loved it. My daughter said, “It’s the most beautiful cake I’ve ever seen,” and honestly? That was enough for me. Now that the cake was set and the decor was up, it was time to figure out how to keep all those tiny princesses and royal knights entertained without needing a fairy godmother’s help.
Royal Activities and Princess-Approved Games
From the very start, I laid down one golden rule: “No chaos in crowns!” I needed activities that would keep our tiny royals entertained—and, bonus, mostly in one spot. So I skipped the bounce house (definitely a hard pass) and the mock sword duels, and went straight to every little princess’s favorite kingdom: arts, crafts, and pretend play. Whether they’re painting glittery wands or staging their own royal tea party, these hands-on adventures kept everyone smiling—no crown mayhem required!

Credit: Girly-Girl Parteas
We set up a “Make Your Own Crown” station with pink foam sheets, glitter glue, and adhesive gems. I also printed out Sleeping Beauty-themed coloring pages (yes, they’re part of the free party kit!) and laid out washable markers. It turned into the quietest, most peaceful part of the party—kids coloring happily while classical music played softly in the background. A real-life once upon a dream.


Credit: 20 Sleeping Beauty Coloring Pages by Monday Mandala
Then we had a “Royal Ball” dance break, complete with a bubble machine and a playlist of Disney princess songs. The kids twirled around in their dresses, and I got at least a dozen boomerangs for Instagram. For our final activity, we had a story time where I read a simplified version of Sleeping Beauty—and my daughter insisted on being the one to say, “And she lived happily ever after.” And with that, the party was winding down—but the memories? They were just beginning to bloom.
Happily Ever After
“What I’ll Remember Most”
As the last guest left, party bags in hand and frosting still on some noses, I sat down on the back porch and looked around. Glitter still twinkled in the grass. Streamers fluttered in the breeze. And there, twirling on her own in her pink dress, was my daughter—humming the Sleeping Beauty waltz like she was the princess.
And that’s when it hit me. This wasn’t just a birthday party. It was a memory. A storybook moment that didn’t require a castle or a fairy godmother—just a tired mom with a big heart, a free Canva account, and a kid who still believes in magic. If you’re reading this and wondering if you can pull it off, let me say it loud and proud: You can. Whether you have a big backyard or a tiny apartment, a custom cake or one from a box, the magic is in the love you put into it.


